How to Enable Open Type Features on Photoshop, Illustrator and Word
If you have recently downloaded a font which uses advanced OpenType features and are wondering how to actually use those features, then this post will show you how. Whether you are using Microsoft Word or Adobe apps we have you covered
Enable Open Type Features in Microsoft Word

Choose the font you want to use and type a word that you want to make, then select glyph/character you want to change.
On menu bar “HOME” click the font icon until the dialog box appears. (see the image below)
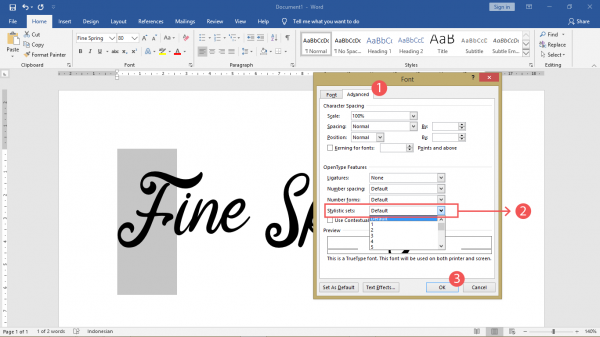
1. Click “advanced” tab.
2. Select drop down on “stylistic set” and choose the set that available.
3. Click “Ok”
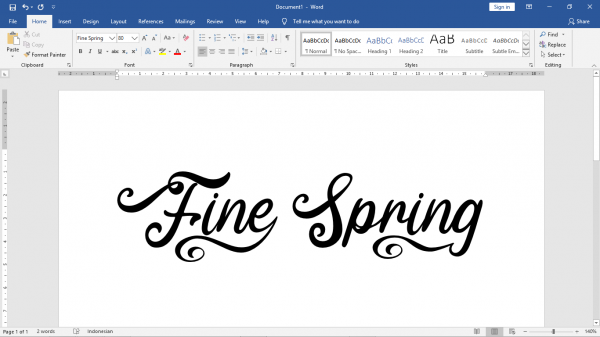
Repeat the process until you get the best combination that you want!
Enable Open Type Features in Adobe Illustrator
In Adobe Illustrator, the Open Type Features can be accessed via the Window > Type > Open Type or with shortcut Alt+Shift+Ctrl+T
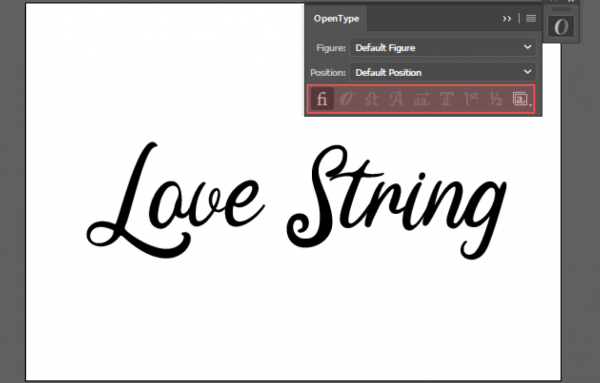
On Open Type dialog box there are some handy shortcuts icon in the main panel (highlighted on image).
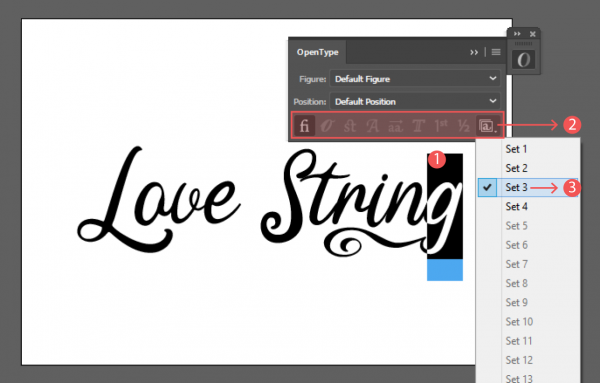
1. Select glyph/character you want to change.
2. Select drop down on “stylistic set” and choose the set that available.
3. Choose “set” and it will change the glyph/character automaticly.
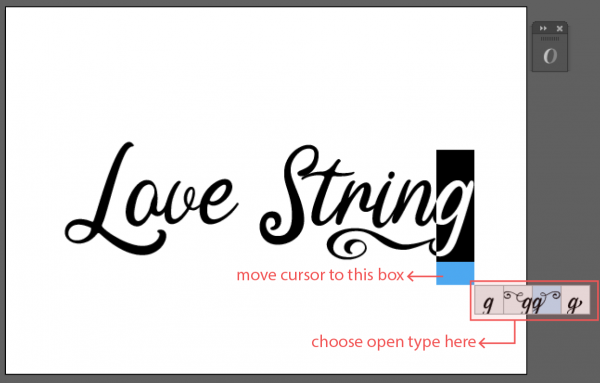
but there are other ways to use open type features if you use adobe Illustrator cc version.
You just need to select the glyph/character you want to change and move the cursor on the box below the glyph/character (blue box on the image).
The dialog box will appears and you just need to choose from it.
Note: I use this method every time!
Enable Open Type Features in Adobe Photoshop
In Adobe Photoshop, the Open Type Features can be accessed in three different ways
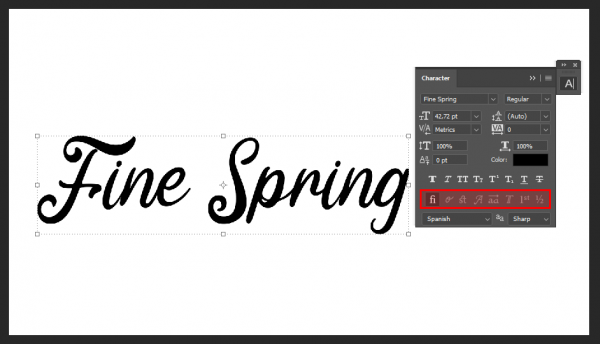
A. Access from the Window > Character
On Open Type dialog box there are some handy shortcuts icon in the main panel (highlighted on image).
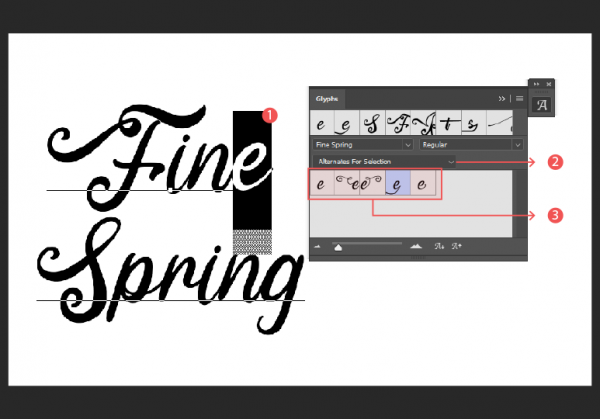
B. Access from the Window > Glyphs
1. Select glyph/character you want to change.
2. Select drop down box to “Alternates For Selection”.
3. Choose an alternates glyph/character from the box below.
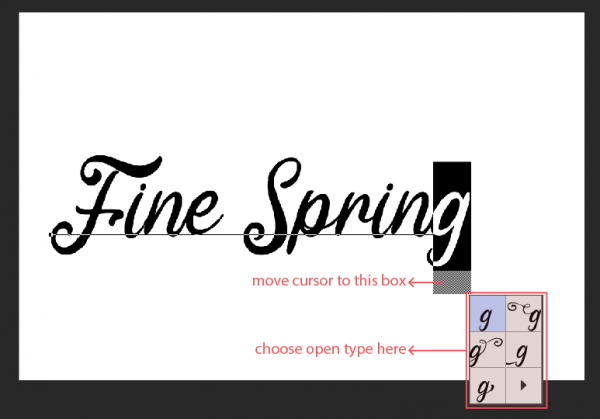
C. Access All Alterntates Features
This method can be used if you use adobe Photosop cc version.
You just need to select the glyph/character you want to change and move the cursor on the box below the glyph/character (gray box on the image).
The dialog box will appears and you just need to choose from it.
Note: I use this method every time!